Complete Grout Mixing Guide for Professional Results
Discover our complete grout mixing guide to achieve flawless tile installations. Learn proper ratios, slaking times, and mechanical mixing techniques today.
Table of Contents
- Key Takeaway
- Market Snapshot
- Introduction
- The Science of Hydration and Grout Mixing Ratios
- Mechanical Blending and Speed Control
- The Critical Slaking Period
- Managing Working Time and Curing
- Your Most Common Questions
- Material Comparison
- Practical Tips for Flawless Results
- Before You Go
- Learn More
Key Takeaway

A grout mixing guide is a comprehensive instructional framework detailing the precise methods for blending cementitious and epoxy compounds for tile joints. Proper execution ensures optimal hydration, structural integrity, and a flawless finish for any professional or residential tile installation project.
Market Snapshot
- The typical recommended mixing speed is 300 rpm to properly disperse ingredients (Ceramic Tile Education Foundation, 2024)[1].
- Standard slake times for cementitious products range from 5-10 minutes between phases (Ceramic Tile Education Foundation, 2024)[1].
- Most products offer a working time of 30-45 minutes after blending under standard conditions (Mapei Corporation, 2024)[2].
- Specific formulations require 1.0-1.1 quarts of water per 10-pound bag (Mapei Corporation, 2024)[2].
Introduction
Grout mixing principles form the foundation of every successful tile installation. Whether you are working with porcelain tiles or natural stone, the way you blend your materials dictates the longevity and appearance of the final surface. Many DIY enthusiasts and even seasoned contractors overlook the chemical nuances of cementitious grout and epoxy grout, leading to weak joints and discoloration. This grout mixing guide breaks down the essential steps, from calculating the correct water-to-powder ratio to mastering the crucial slaking period. We will explore mechanical mixing techniques, compare different material types, and provide actionable advice to elevate your craftsmanship. By understanding the science behind hydration and polymer activation, you can avoid common pitfalls and achieve professional-grade results on every job site.
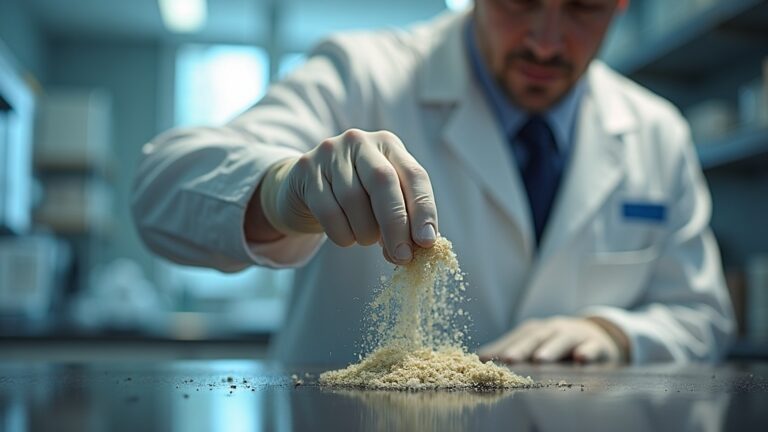
The Science of Hydration and Grout Mixing Ratios
Achieving the correct chemical reaction starts with strict adherence to the water-to-powder ratio. When preparing sanded grout for wider tile joints, manufacturers specify a precise blend. A common standard dictates a powder-to-water ratio of about 3:1 by weight when blending full units (Mapei Corporation, 2024)[2]. Deviating from this compromises structural integrity. For partial units, the water amount must be reduced in direct proportion to the powder used (Mapei Corporation, 2024)[2].
This precision activates cementitious binders and polymers. Donato Pompo explains, “Mixing mortars and grouts includes three phases: the initial mix, slaking, and remixing, and all three are necessary to achieve a uniform, properly hydrated mixture” (Ceramic Tile Education Foundation, 2024)[1]. Skipping phases causes weak bonds.
For professionals scaling operations, exploring advanced colloidal mixing techniques improves batch consistency. Proper hydration ensures smooth flow without air pockets. Always use clean, room-temperature water. Measuring by weight eliminates guesswork, preventing overly soupy batches. Respecting chemical requirements guarantees a flawless finish.
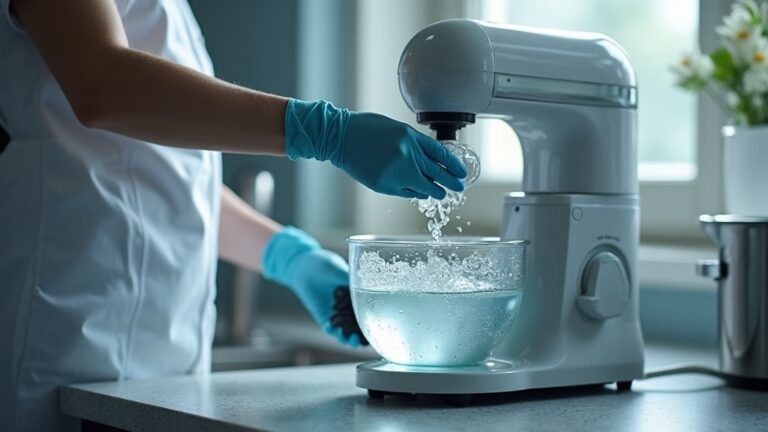
Mechanical Blending and Speed Control
Utilizing the right equipment and rotational speed is non-negotiable for a lump-free consistency. Professional installations demand a mechanical mixer to ensure uniformity and proper hydration (Ceramic Tile Education Foundation, 2024)[1]. A standard drill with a paddle attachment is the industry standard.
Drill speed dictates the final texture. The recommended speed is about 300 rpm to properly disperse ingredients without entraining excessive air (Ceramic Tile Education Foundation, 2024)[1]. Spinning too fast whips air into the compound, creating voids. Spinning too slowly fails to break up clumps. Donato Pompo warns that “when mixing mortars and grouts, many installers make the mistake of using low mixing speeds, but that will not disperse the ingredients adequately and can leave lumps and unmixed powder in the bottom of the bucket” (Ceramic Tile Education Foundation, 2024)[1].
To maintain safety, manage airborne silica. Reviewing the comprehensive ceramic tile education foundation guidelines provides insights into job site safety. Using a dust-containment device with a HEPA-filtered vacuum controls dust and protects workers (Ceramic Tile Education Foundation, 2024)[1]. Keeping bucket walls clean prevents dried chunks from falling into the wet batch.
The Critical Slaking Period
Allowing the blended material to rest is a mandatory step that activates essential polymers. After the initial blend, the bucket must be set aside. Typical slake times for cementitious products are about 5 to 10 minutes between the initial blend and remixing (Ceramic Tile Education Foundation, 2024)[1]. This resting period is a fundamental chemical requirement.
During this phase, dry particles fully absorb liquid. Donato Pompo emphasizes that “the slaking period is critical because it allows the polymers and cement in the grout to fully absorb water, resulting in better performance and longer working time” (Ceramic Tile Education Foundation, 2024)[1]. Skipping this step causes the material to stiffen prematurely, leading to shrinkage and a powdery finish.
Once the rest period concludes, the material must be remixed briefly without adding extra liquid. This final agitation creates a creamy consistency ideal for troweling. For contractors managing large projects, reviewing detailed equipment specification sheets helps in selecting automated systems that handle these precise timing intervals. Respecting the rest phase ensures the compound retains its intended color and structural density, separating amateur results from master-level installations.
Managing Working Time and Curing
Understanding the operational window prevents material waste and ensures continuous application. Once final agitation is complete, the clock starts. Many data sheets specify a working time of approximately 30 to 45 minutes after blending under standard conditions (Mapei Corporation, 2024)[2]. However, high temperatures and porous tiles can drastically accelerate moisture evaporation.
Installers must pace their workflow. Practical DIY guidance notes that blended material typically begins to stiffen and go off after about 15 minutes, so only small batches should be prepared at a time (Bunnings, 2024)[3]. Adding water to a stiffening batch breaks chemical bonds, resulting in a weak joint. Unworkable material must be discarded immediately.
Alternatively, professionals use ready-to-use pre-mixed products. For these, manufacturers dictate that no additional water be added, and the material should be used directly from the pail (Hemway, 2024)[4]. While pre-mixed options offer convenience, they still require strict curing guidelines. Proper curing involves keeping joints damp and protected from drafts, allowing binders to reach maximum compressive strength.
Your Most Common Questions
Why is my blended material full of dry lumps?
Dry lumps typically occur when the rotational speed of your paddle attachment is too slow. Industry experts emphasize that operating at low speeds fails to disperse ingredients adequately, leaving unmixed powder trapped at the bottom of the bucket. To achieve a smooth consistency, maintain a speed of around 300 rpm. Always add the dry powder to the liquid rather than pouring liquid into the powder, as this prevents dry pockets from forming against the bucket walls. Scraping the sides manually during the initial blend also helps incorporate all material evenly before the resting phase begins.
Can I add more water if the batch gets too stiff?
No, you should never add extra liquid to a batch that has already begun to stiffen or cure. Once the chemical hydration process advances past its initial workable window, introducing more water breaks the established crystalline structure of the cementitious binders. This severely compromises the compressive strength and adhesion of the final joint, leading to cracking and a powdery texture. If your batch becomes unworkable before you finish the installation, the only correct course of action is to discard the stiffened material entirely and prepare a fresh, properly proportioned batch to ensure structural integrity.
What is the purpose of the resting phase in a grout mixing guide?
The resting phase, commonly known as slaking, allows the dry cement and polymer additives to fully absorb moisture. This crucial five to ten-minute window ensures complete hydration of the chemical components, which directly improves the material’s overall performance, adhesion, and color consistency. Skipping this step causes the dry particles to absorb moisture prematurely from the substrate after application, leading to rapid shrinkage and weak joints. After the rest period concludes, a brief secondary agitation without adding any extra liquid brings the compound to its final, smooth, and highly workable consistency for troweling.
Do I need a mechanical drill for small bathroom repairs?
While hand blending with a margin trowel might seem sufficient for tiny patch jobs, professional standards strongly recommend using a mechanical drill for all applications. A mechanical mixer guarantees uniform dispersion of the polymers and cement, eliminating the risk of unmixed dry pockets that frequently occur with hand tools. Even for small bathroom repairs, a low-speed drill equipped with a small paddle attachment ensures the chemical reaction proceeds correctly. This mechanical agitation creates a consistent, lump-free paste that packs tightly into the joints, ensuring your minor repairs are just as durable as a full-scale installation.
Material Comparison
Selecting the right material and preparation method depends heavily on the specific requirements of your tile installation. Comparing the different approaches helps contractors choose the most efficient workflow for their grout mixing strategy.
| Approach | Best Application | Key Advantage |
|---|---|---|
| Cementitious Sanded | Wide joints, floor tiles | High compressive strength, resists shrinkage |
| Cementitious Unsanded | Narrow joints, wall tiles | Smooth finish, prevents scratching delicate surfaces |
| Epoxy Resin | Wet areas, commercial kitchens | Extreme stain resistance, zero water absorption |
| Pre-Mixed Acrylic | Quick DIY repairs, small backsplashes | No blending required, consistent color out of pail |
Practical Tips for Flawless Results
To elevate your craftsmanship, always measure your ingredients by weight rather than volume for absolute precision. Invest in a high-quality digital scale to ensure your water-to-powder ratio remains perfectly consistent across every single batch. When working in hot or dry climates, use cold water to slow down the curing process and extend your operational window. Conversely, use warm water in freezing conditions to accelerate the initial chemical reaction.
Always clean your tools and buckets immediately after use; dried residue from previous batches can contaminate fresh material and cause unsightly blemishes in the joints. Wear appropriate personal protective equipment, including safety glasses and a respirator, to guard against hazardous silica dust during the dry pouring phase. Finally, protect your freshly packed joints from direct sunlight, heavy drafts, and rapid temperature fluctuations for at least 72 hours. Covering the installation with breathable craft paper helps retain moisture, ensuring the cementitious binders cure slowly and achieve their maximum structural density and color uniformity.
Before You Go
Mastering the techniques outlined in this grout mixing guide transforms a tedious chore into a precise science. By respecting the chemical requirements of hydration, maintaining strict speed controls, and honoring the vital resting phases, you ensure every tile joint remains durable and visually striking. Proper preparation is the undisputed key to long-lasting installations that withstand the test of time. For more in-depth tutorials, equipment reviews, and industry insights, continue to explore the extensive resources available on colloidalgroutplants.com to further refine your professional skill set.
Learn More
- Six Steps for Mixing Mortars and Grouts. Ceramic Tile Education Foundation.
https://www.ceramictilefoundation.org/blog/6-steps-mixing-mortars-grouts - Mixing Partial Units of Grout. Mapei Corporation.
https://cdnmedia.mapei.com/docs/librariesprovider10/line-technical-documentation-documents/mixing-partial-units-of-grout.pdf - How To Mix Grout – DIY At Bunnings. Bunnings.
https://www.youtube.com/watch?v=ub5–rxLrtA - The Ultimate Guide to Pre-Mixed Grout. Hemway.
https://us.hemway.com/blogs/inspiration/the-ultimate-guide-to-pre-mixed-grout-everything-you-need-to-know
For more about Groutmixing guide, see Groutmixing Guide.