The Complete Grout Mixing Guide for Perfect Tile Joints
Discover our comprehensive grout mixing guide to achieve perfect tile joints. Learn precise powder ratios, slake times, and expert tips for flawless results.
Table of Contents
- Article Snapshot
- Grout Mixing Guide in Context
- Introduction
- Understanding Powder-to-Water Ratios
- The Importance of Slaking and Remixing
- Choosing the Right Mixing Tools
- Evaluating Pre-Mixed Alternatives
- Important Questions About Grout Mixing
- Comparing Mixing Methods
- Practical Tips
- Key Takeaways
A grout mixing guide is a structured instructional framework for combining cementitious powders and liquids to achieve optimal tile joint consistency. This overview covers essential powder-to-water ratios, mandatory slake periods, and tool selections to prevent structural failures and color variations in finished installations.
Grout Mixing Guide in Context

- Improper mixing and water ratios account for 25 percent of reported cementitious grout complaints (Tile Council of North America (TCNA), 2024)[6].
- Installers measuring water volume consistently reduced color variation callbacks by 40 percent (National Tile Contractors Association (NTCA), 2023)[7].
- Overwatering can cause grout to lose up to 20 percent of its compressive strength (LATICRETE International, 2024)[3].
Introduction
Grout mixing principles form the foundation of any successful tile installation, dictating the longevity and aesthetic quality of the finished surface. Whether you are working with sanded or unsanded varieties, the chemical reaction that binds the materials relies entirely on precise preparation. Many installers underestimate how minor deviations in liquid volume or mixing speed can compromise the final cure. This article explores the critical mechanics found in any professional grout preparation guide, detailing exact proportions, the necessary resting periods, and the mechanical tools required for a uniform batch. By following these established protocols, professionals and DIYers alike can eliminate common pitfalls like pinholes, weak joints, and uneven shading. Read on to master the technical steps that ensure maximum polymer performance and structural integrity for your next tiling project.
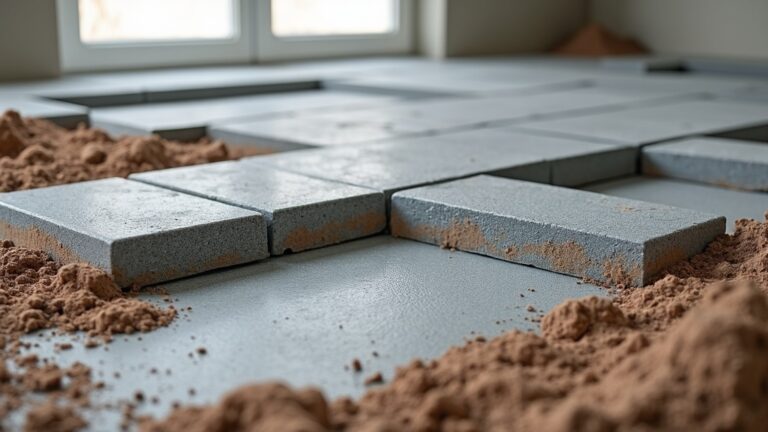
Understanding Powder-to-Water Ratios
Achieving the correct consistency begins with strict adherence to manufacturer-specified proportions. The chemical hydration process requires an exact balance; too much liquid weakens the matrix, while too little prevents proper curing. According to technical specifications, different products demand distinct proportions to reach their designed performance characteristics. For instance, standard unsanded cement-based products typically require a 3-to-1 powder-to-liquid ratio by volume, whereas sanded variants often need a 4-to-1 ratio to accommodate the heavier aggregate (MAPEI Corporation, 2023)[1].
Paul Gerber, Technical Services Manager at MAPEI Corporation, emphasizes this precision: “When mixing cement-based grout, maintaining precise powder-to-water ratios is crucial; using the same measuring device for every batch is the only way to ensure consistent color, strength, and performance” (MAPEI Corporation, 2023)[1]. A consumer analysis revealed that improper mixing and water ratios account for approximately 25 percent of reported cementitious grout complaints (Tile Council of North America (TCNA), 2024)[6].
Overwatering is particularly destructive. Donato Pompo, a Certified Tile Consultant, notes that “the number one mistake I see in grout failures is overwatering the mix; if the grout looks like soup instead of peanut butter, you’re already compromising its strength and color consistency” (Ceramic Tile and Stone Consultants, 2024)[2]. When installers add excess liquid to make the material easier to spread, they dilute the Portland cement and polymers. This dilution can cause the mixture to lose up to 20 percent of its compressive strength compared with correctly mixed material (LATICRETE International, 2024)[3]. To avoid these structural deficits, always use dedicated measuring buckets and strictly follow the grout blending instructions provided with your specific product.
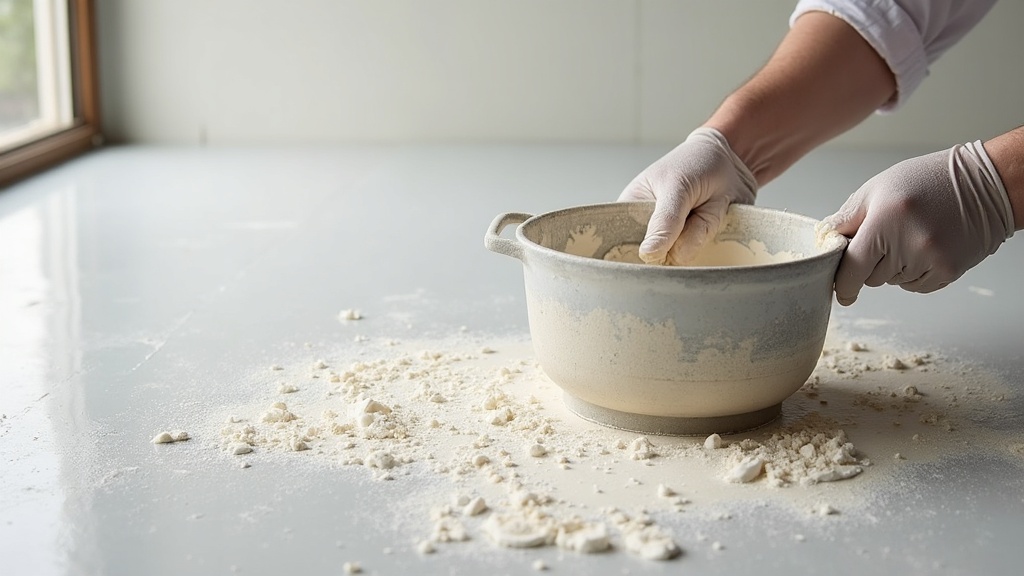
The Importance of Slaking and Remixing
The hydration of cementitious powders is not instantaneous, making the resting period a non-negotiable step in any professional workflow. After the initial mechanical blending, the mixture must be allowed to slake. This resting phase gives the liquid time to fully penetrate the dry particles, activating the chemical additives and polymers embedded in the powder. Manufacturers typically instruct that these mixtures should be allowed to slake for 5 to 10 minutes after initial mixing before being remixed and applied (MAPEI Corporation, 2023)[1].
Mark Pennine, Technical Manager at LATICRETE International, explains the mechanics behind this step: “Grout should be mixed, allowed to slake, and then remixed without adding more water; that second mix is what gives you a creamy, workable material with maximum polymer performance” (LATICRETE International, 2024)[3]. The second blending phase breaks up any remaining dry clumps and aligns the polymer chains, transforming the stiff resting mixture into a smooth, cohesive paste.
It is vital to resist the urge to add more water during this secondary blending phase. The Tile Council of North America guidelines strictly recommend remixing the batch once after the slake period without adding more water to maintain designed performance characteristics (Tile Council of North America (TCNA), 2024)[8]. Adding liquid at this stage disrupts the established water-to-cement ratio, leading to severe color variation and structural weakness. Field studies show that installers who measured water volume consistently and respected the slake period reduced color variation callbacks by 40 percent compared with those who mixed by eye (National Tile Contractors Association (NTCA), 2023)[7].
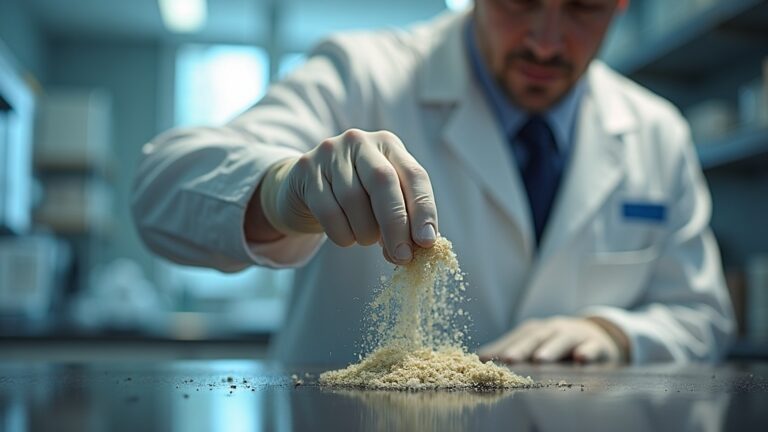
Choosing the Right Mixing Tools
The mechanical equipment used to blend the materials profoundly impacts the final structural integrity of the tile joints. While it might seem efficient to use a high-powered drill to speed up the process, excessive rotational speeds introduce structural flaws. Tom Silva, General Contractor and Home Improvement Expert at This Old House, warns against this common error: “If you mix grout too fast with a high‑speed drill, you whip air into it, and those air bubbles can weaken the joints and lead to pinholes as the grout cures” (This Old House, 2024)[4].
To achieve a dense, air-free consistency, professionals should utilize a low-speed, high-torque drill paired with a specialized paddle mixer, a staple in any mortar mixing tutorial. The ideal drill speed is generally between 300 and 500 RPM. This gentle folding action thoroughly wets the powder without aerating the batch. A helical paddle scrapes the bucket more effectively than a standard paint mixer, ensuring no dry pockets remain.
For those exploring advanced colloidal mixing technology, specialized equipment can further enhance particle dispersion. You can review our uncategorized grout plant resources to learn more about industrial-grade blending solutions that eliminate air entrapment entirely. Furthermore, the physical mixing vessel should be a clean, heavy-duty plastic bucket. Residual debris or dried cement from previous batches can act as a contaminant, accelerating the curing time unpredictably. Always start with a pristine bucket and dedicated mixing tools to ensure the chemical reaction proceeds exactly as the manufacturer intended.
Evaluating Pre-Mixed Alternatives
While traditional cementitious powders dominate large-scale commercial projects, ready-mixed formulations have gained significant traction in residential and smaller commercial applications. These products eliminate the variables associated with manual tile grout mixing steps, offering a consistent, factory-controlled formulation straight from the bucket.
Kate Spencer, Product Development Manager at Hemway, highlights the user benefits: “For DIYers, pre‑mixed grout removes the guesswork of powder-to-water ratios, so the focus is on proper application and cleanup rather than trying to hit the perfect consistency every time” (Hemway, 2024)[5]. Because these products rely on advanced acrylic or urethane binders rather than Portland cement hydration, they do not require a slake period and are ready for immediate application. This saves considerable time on the job site and reduces physical fatigue for the installer.
However, ready-mixed options come with specific storage and handling requirements. Unlike dry powders that can sit indefinitely in a dry warehouse, these wet formulations have a finite lifespan. Manufacturers state that ready-mixed products have a shelf life of up to 12 months in a sealed container, eliminating on-site powder-to-water mixing for that period (Hemway, 2024)[5]. Once opened, the material must be kept tightly sealed to prevent skinning and moisture loss. For professionals managing large-scale infrastructure projects, exploring automated proportioning systems can bridge the gap between manual blending and pre-mixed convenience. Review our sample page for grout mixing equipment to discover how automated colloidal plants deliver continuous, perfectly proportioned batches directly to the application site.
Important Questions About Grout Mixing
Why does my grout dry with uneven color patches?
Uneven color patches, often called shading, are primarily caused by inconsistent water ratios between different batches. When you add slightly more water to one batch to make it easier to spread, that section will cure to a lighter shade than a stiffer, correctly proportioned batch. Environmental factors like uneven sunlight exposure or drafts can also cause localized rapid drying, which alters the final pigment. To prevent this, always use the exact same measuring vessel for both the powder and the liquid, and strictly avoid adding extra water during the secondary remixing phase after the slake period.
Can I rescue a batch of grout that is drying out too quickly?
Once a cementitious batch begins to stiffen and lose its working time, it cannot be rescued by adding more water. Adding liquid at this late stage breaks the chemical bonds that have already started to form, resulting in a weak, crumbly joint that will eventually fail. The typical working time on the tile surface is 15 to 30 minutes after mixing, depending on the specific product and ambient environmental conditions (National Tile Contractors Association (NTCA), 2023)[9]. If the material becomes unworkable, you must discard it and mix a fresh batch to ensure structural integrity and proper adhesion to the tile edges.
What is the difference between sanded and unsanded grout mixing?
The primary difference lies in the aggregate size and the resulting powder-to-liquid ratio required for proper hydration. Sanded varieties contain fine silica sand, making them ideal for wider joints and requiring less liquid, often a 4-to-1 ratio by volume. Unsanded versions lack this aggregate, making them smoother and better suited for narrow joints or delicate tile surfaces like glass, usually requiring a 3-to-1 ratio. Because the physical density differs, you must never substitute one for the other without adjusting your liquid measurements and verifying the manufacturer’s comprehensive grout mixing manual for the exact proportions.
How do I clean my mixing tools immediately after use?
Immediate cleaning is essential because cementitious materials harden rapidly and become nearly impossible to remove once fully cured. As soon as you finish applying the batch, submerge your paddle mixer and measuring buckets in clean water. Use a stiff-bristled nylon brush to scrub away all wet residue from the paddle blades and the bucket walls. Avoid using metal scrapers on plastic buckets, as deep scratches can harbor dried cement particles that will contaminate future batches. For the drill motor, wipe down the exterior with a damp cloth, ensuring no wet slurry drips into the motor housing or the chuck mechanism.
Comparing Mixing Methods
Selecting the appropriate blending approach depends heavily on the scale of the project, the specific materials being used, and the available labor force. Each method offers distinct advantages regarding consistency control and application speed. The table below outlines the primary techniques utilized in modern tile installation.
| Method | Best Application | Consistency Control |
|---|---|---|
| Manual Hand Mixing | Small touch-ups, narrow unsanded joints | Low, highly dependent on installer skill |
| Low-Speed Drill and Paddle | Standard residential and commercial cementitious batches | High, provided exact volumetric measurements are used |
| Automated Colloidal Plant | Large-scale infrastructure, continuous high-volume grout mixing applications | Maximum, computer-controlled ratios eliminate human error |
| Ready-Mixed Acrylic | Residential DIY, wet areas, avoiding slake times | Absolute, factory-formulated with zero on-site blending |
Practical Tips
Mastering the physical application requires attention to environmental variables and job site preparation. Always check the ambient temperature before beginning; extreme heat accelerates the curing process, drastically reducing your working time, while cold temperatures delay the chemical hydration. Keep your materials stored in a climate-controlled environment prior to blending to ensure the powder and liquid are at room temperature.
When measuring liquids, use a clear, graduated cylinder rather than a standard bucket to ensure absolute precision down to the ounce. Never use hot water to speed up the curing process, as this can cause flash-setting and severe structural weakness. During the application phase, force the material deeply into the joints using a firm rubber float or trowel held at a 45-degree angle, working in multiple directions to eliminate voids.
Finally, manage your batch sizes carefully. Only mix as much material as you can comfortably apply and clean within the specified working window. Discarding wasted material is far less expensive than returning to fix failed joints caused by rushing the application. Following these practical guidelines ensures a professional, long-lasting finish that withstands daily wear and moisture exposure.
Key Takeaways
Achieving flawless tile joints requires strict adherence to proven grout mixing protocols. By respecting exact powder-to-water ratios, honoring the mandatory slake period, and utilizing low-speed mechanical tools, installers can eliminate structural weaknesses and aesthetic flaws. Whether you choose traditional cementitious powders or advanced ready-mixed alternatives, precision remains the ultimate determinant of success. For more in-depth technical tutorials and equipment reviews, continue exploring the expert resources available on colloidalgroutplants.com to elevate your next installation project.
Learn More
- Mixing Partial Units of Grout – Technical Bulletin. MAPEI Corporation.
https://cdnmedia.mapei.com/docs/librariesprovider65/line-technical-documentation-documents/19-1736_mixing_partial_units_of_grout-en_lr.pdf - Common Grout Installation Mistakes and How to Avoid Them. Ceramic Tile and Stone Consultants.
https://ctasc.com/common-grout-installation-mistakes-and-how-to-avoid-them - Best Practices for Mixing and Applying Cementitious Grouts. LATICRETE International.
https://laticrete.com/en/support-and-downloads/technical-design-manuals/grout-installation-tips - How to Mix and Apply Tile Grout the Right Way. This Old House.
https://www.thisoldhouse.com/tile/21015187/how-to-grout-tile - The Ultimate Guide to Pre‑Mixed Grout: Everything You Need to Know. Hemway.
https://us.hemway.com/blogs/inspiration/the-ultimate-guide-to-pre-mixed-grout-everything-you-need-to-know - TCNA Consumer Grout Complaint Analysis. Tile Council of North America (TCNA).
https://www.tcnatile.com/images/pdfs/technical_papers/tcna-consumer-grout-complaint-analysis.pdf - Grout Performance Study 2023. National Tile Contractors Association (NTCA).
https://www.tile-assn.com/page/grout-performance-study-2023 - Grout Mixing and Application Guidelines. Tile Council of North America (TCNA).
https://www.tcnatile.com/faqs/71-installation/152-grout-mixing-and-application-guidelines.html - NTCA Grout Training Module. National Tile Contractors Association (NTCA).
https://www.tile-assn.com/page/ntca-grout-training-module
For more about Groutmixing guide, see Groutmixing Guide.